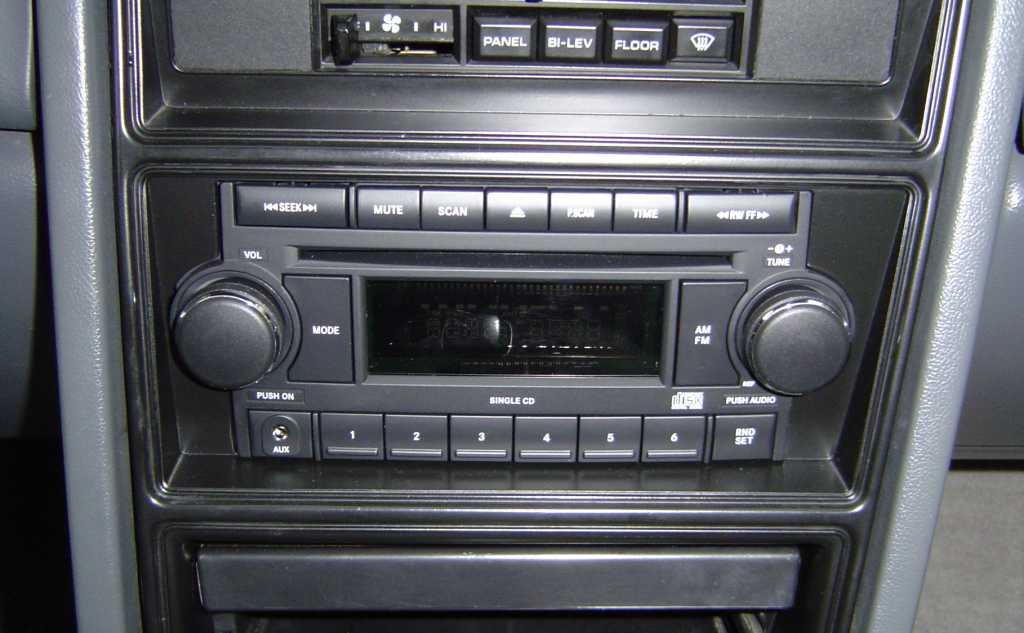
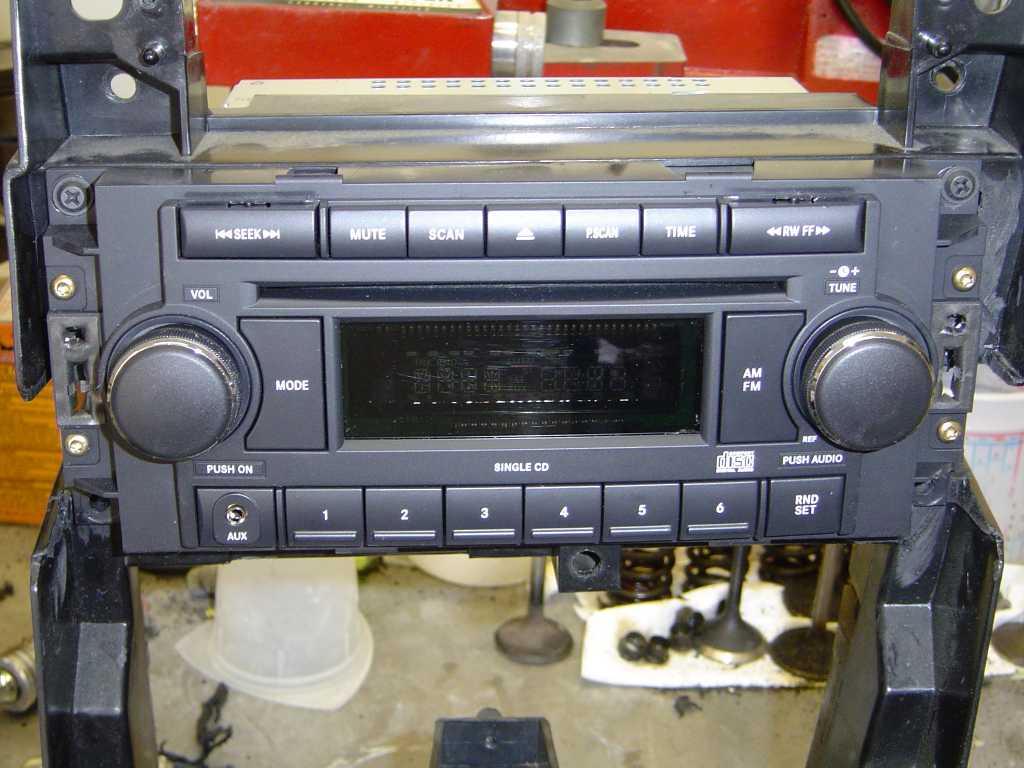
Upgrade your old radio with a modern CD and Aux in capable model from a 2005+ vehicle.
Background:
This article describes installing a 2005 and up radio into a 1987 Dodge Daytona, I assume that these instructions will work on all 1984 to 1989 models, but I have not tried this in a newer (1990 – UP) car. These new radios are much more powerful (66 Watts), and offer many more features than even the newest flat faced radio from the late 90’s. They are also much closer in shape to the original radio, rather than being curved like the oval face radios from 1999-2004, so they fit a lot better as well.
Check Radio Compatibility
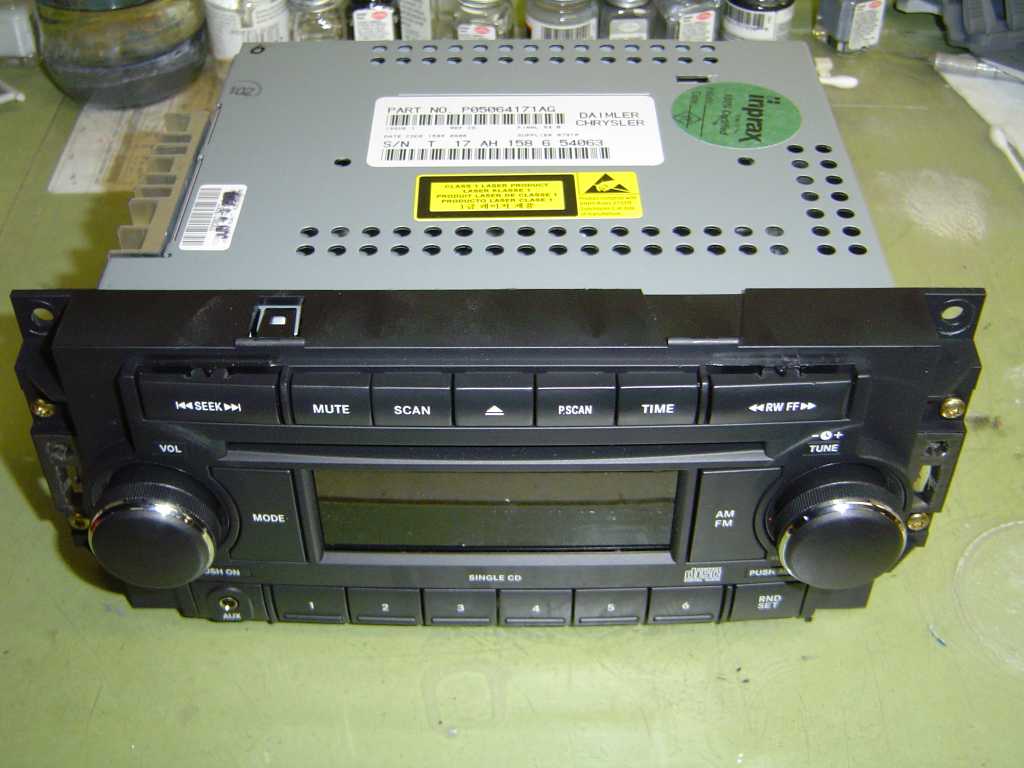
Newer Chrysler radios use the Chrysler Accessory Network Bus (CAN bus) to turn the radio on and off instead of the standard ignition fed trigger wire in older cars. Some new style radios are backward compatible with the trigger wire, so you will need to find a radio that is compatible. The following list shows radios that are known to work with the trigger wire and ones that are known to not work.
Known Working:
REF: Single CD with aux input (This article is based on this radio)
RAQ: 6 CD changer
Known NOT Working:
RAK: 6CD with Tape (Besides requiring the CAN bus, it will not physically fit in the opening.)
Have an update? Send feedback here , and the page will be updated.
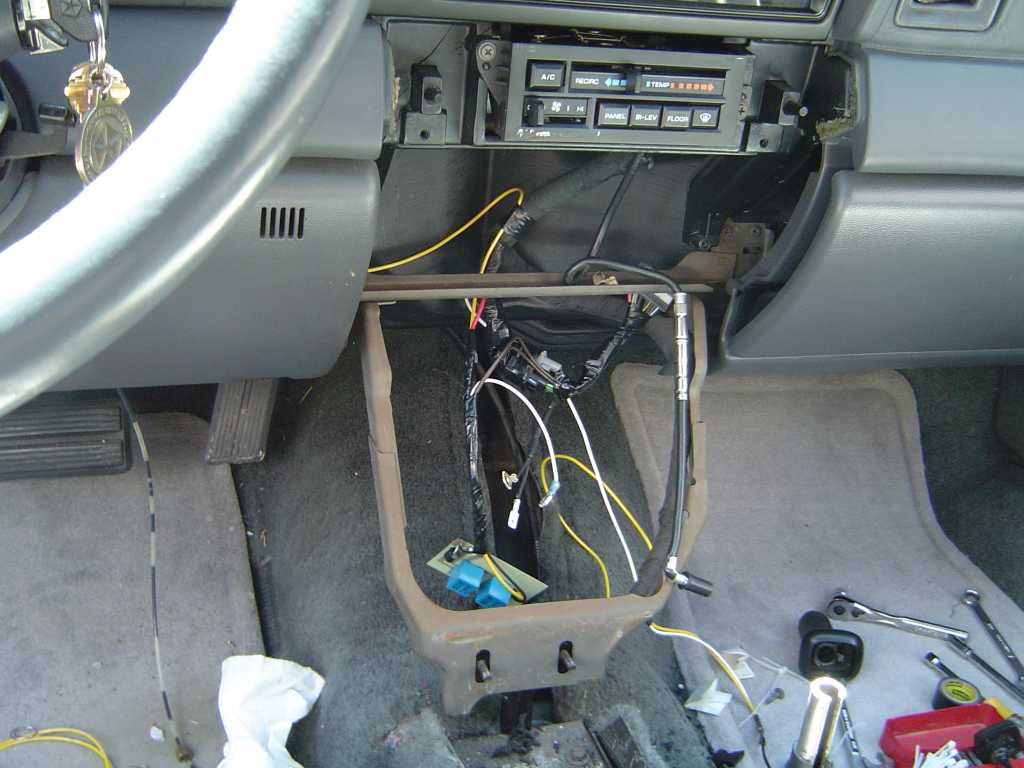
Prepare the Car to accept the new radio.
While this job can be done in the car, it is easiest to do this with the center stack removed form the car. This way, no plastic shavings embed themselves in the carpet and make it a pain to clean up. To remove the center stack, start by removing the black trim piece from around the radio. It is held in with two screws at the bottom and clips at the top, simply remove the screws, and then pop the panel off. You will then see two screws that hold the center console in the car, you will have to remove these, as well as the three screws that are in the armrest. You should then disconnect the automatic transmission shift indicator cable (if equipped), and the power seat controls. Lift the center armrest up, and remove the wires from the bottom, taking note of what they were attached to. You will then see two nuts at the the bottom of the center stack, remove these. Then remove four screws, two at the top, and two at the sides that hold it to the car. After these are removed, remove the center stack from the car.
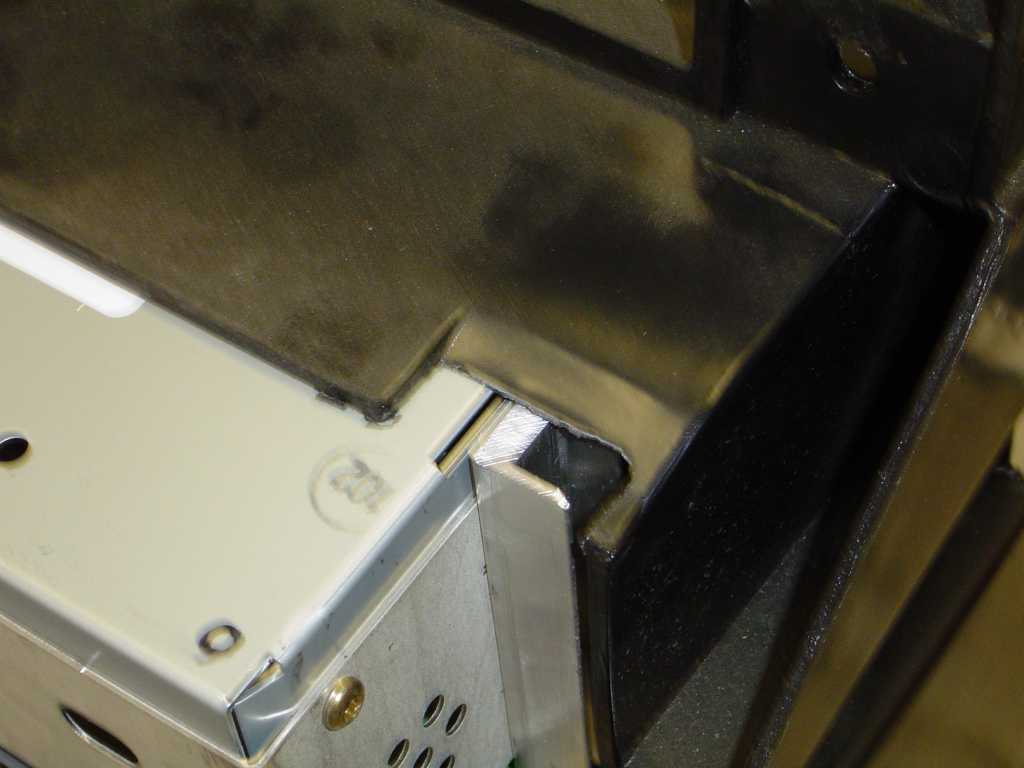
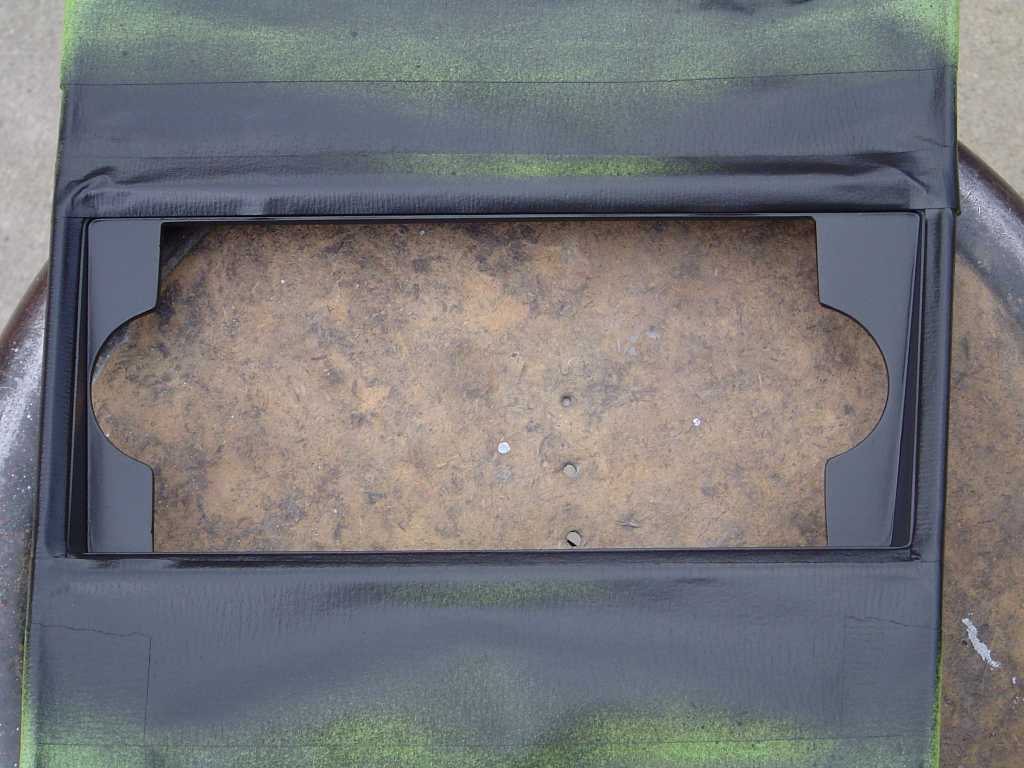
Center Stack Modifications
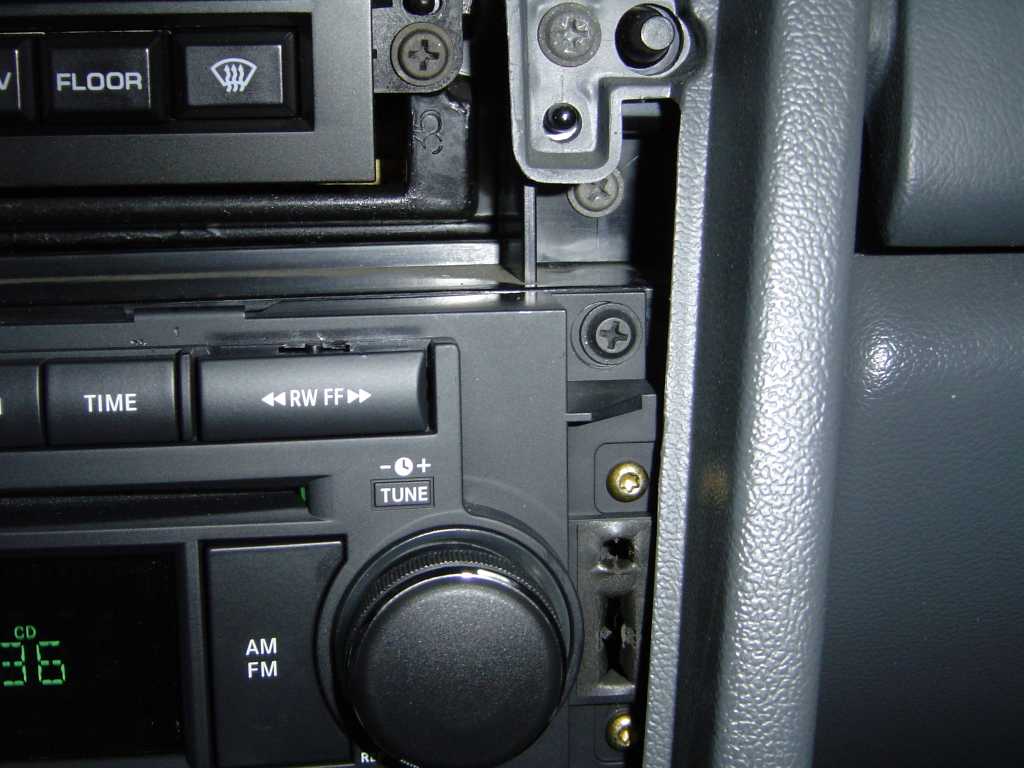
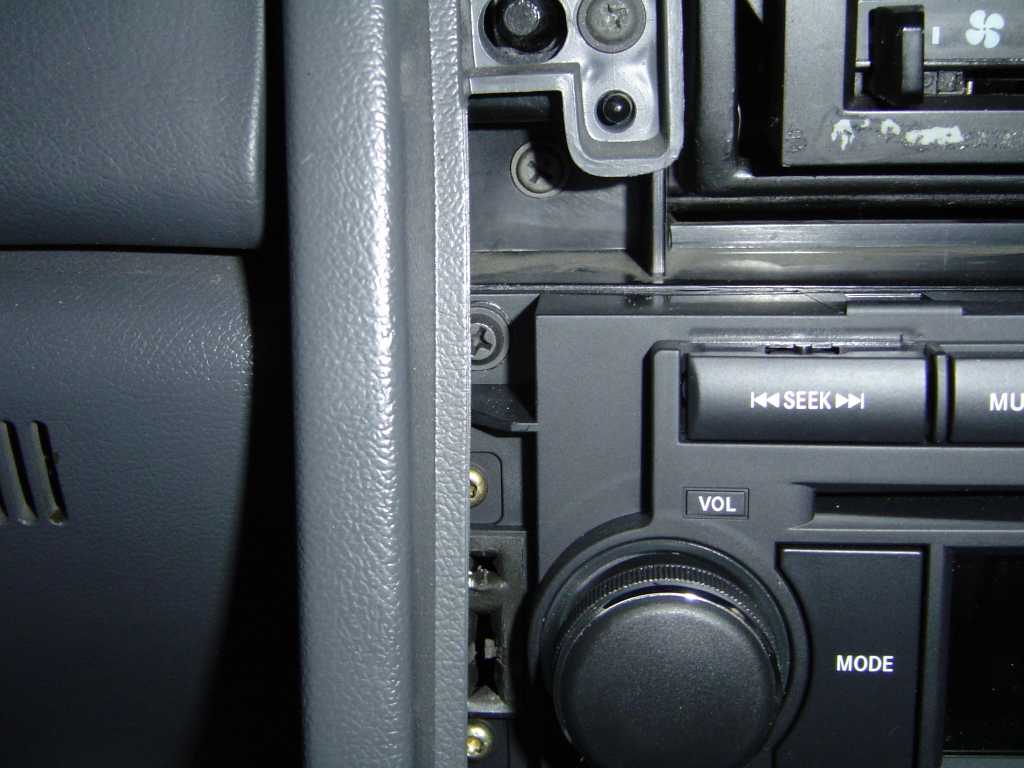
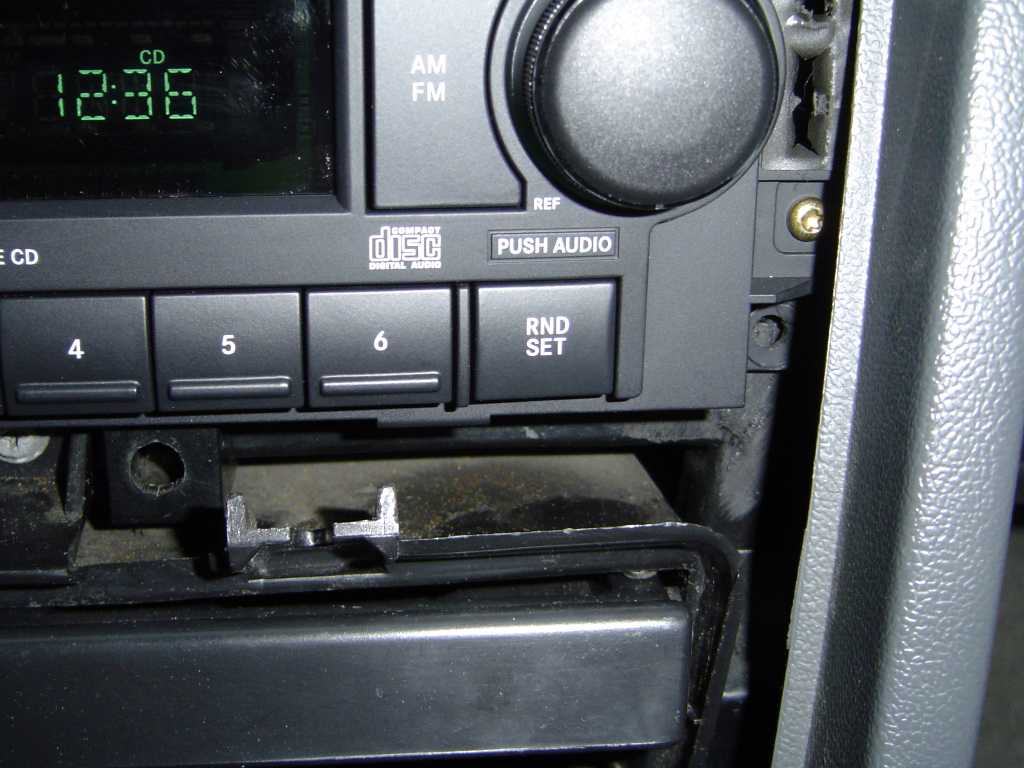
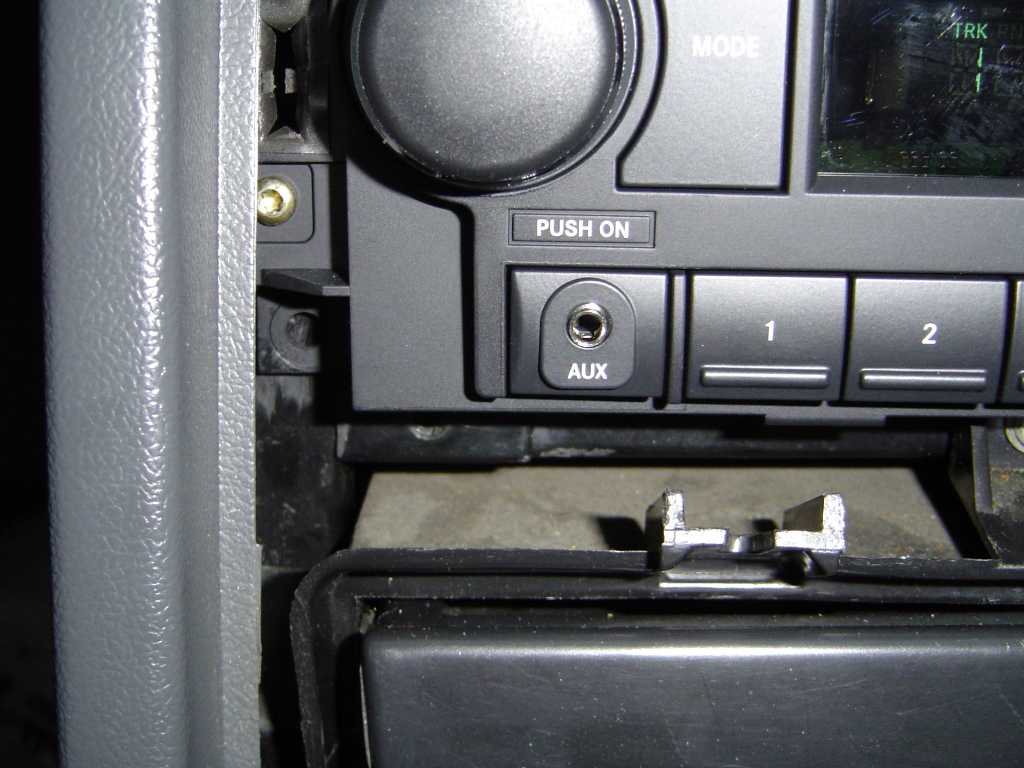
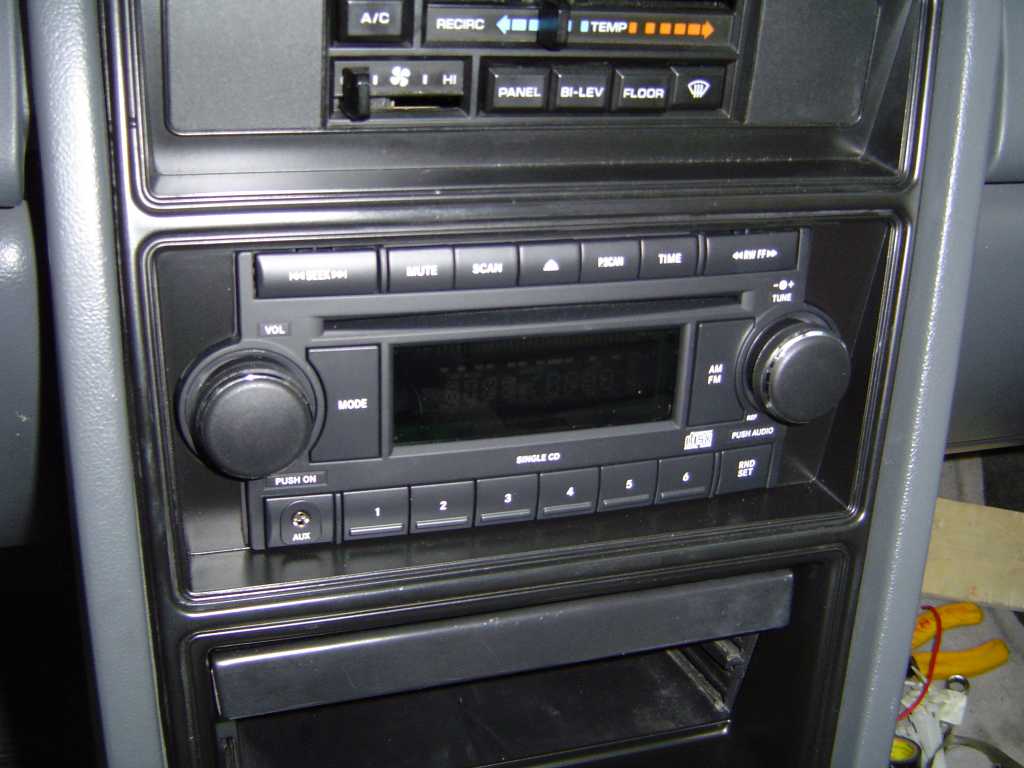
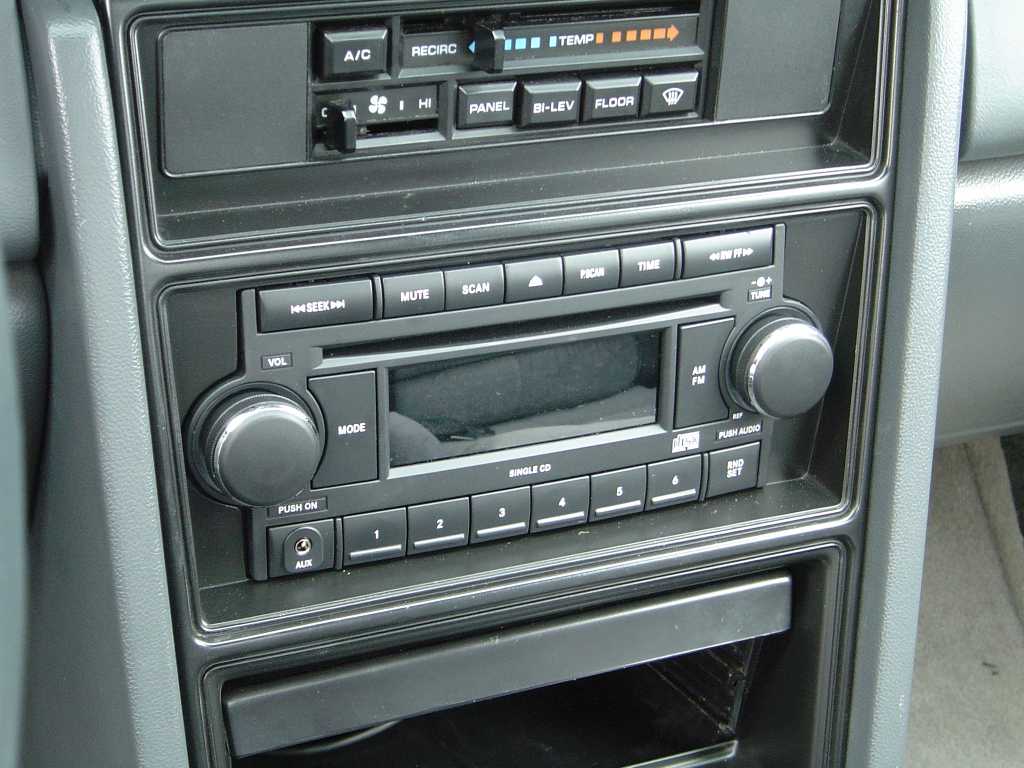
The new style radio is very close to fitting the original hole as it is, you will have to remove some material from the bottom using a file or similar tool to make the opening more square. This plastic piece settles over the years and what you are trying to achieve is a nice square hole that will support the new radio. Check the vertical position often, in this case, when the top of the radio was flush with the piece of plastic below where the HVAC controls would go, it was centered correctly in the final opening. Once you get the radio to fit, secure the radio using at least two screws, in my case the top two stock locations worked great.
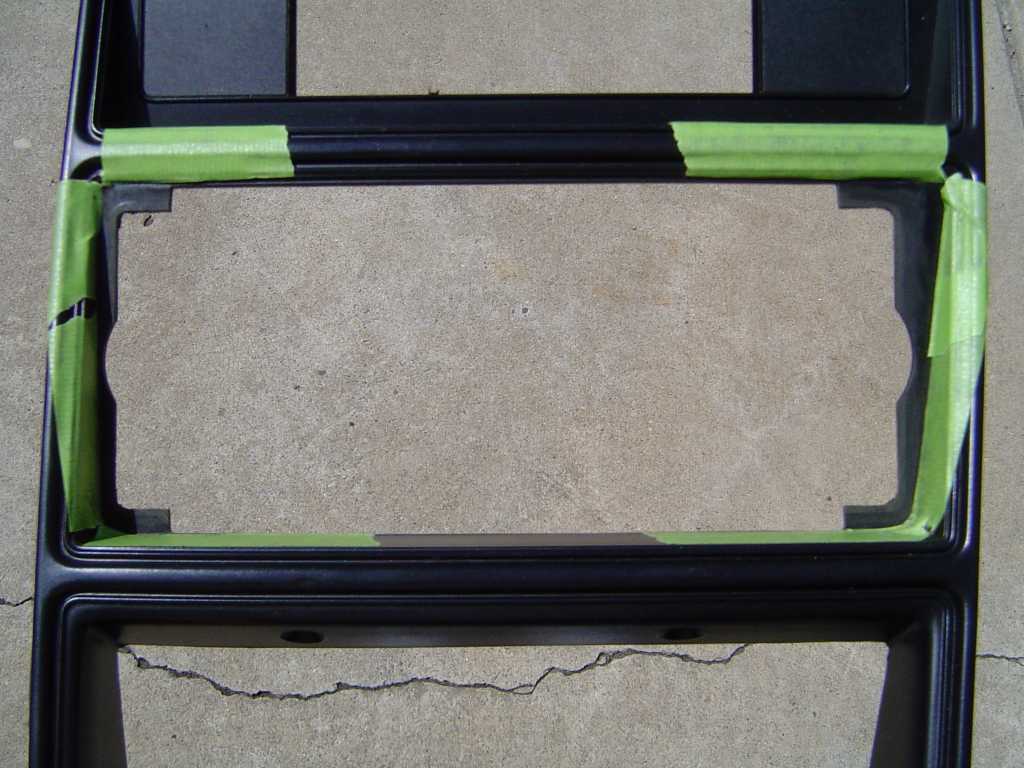
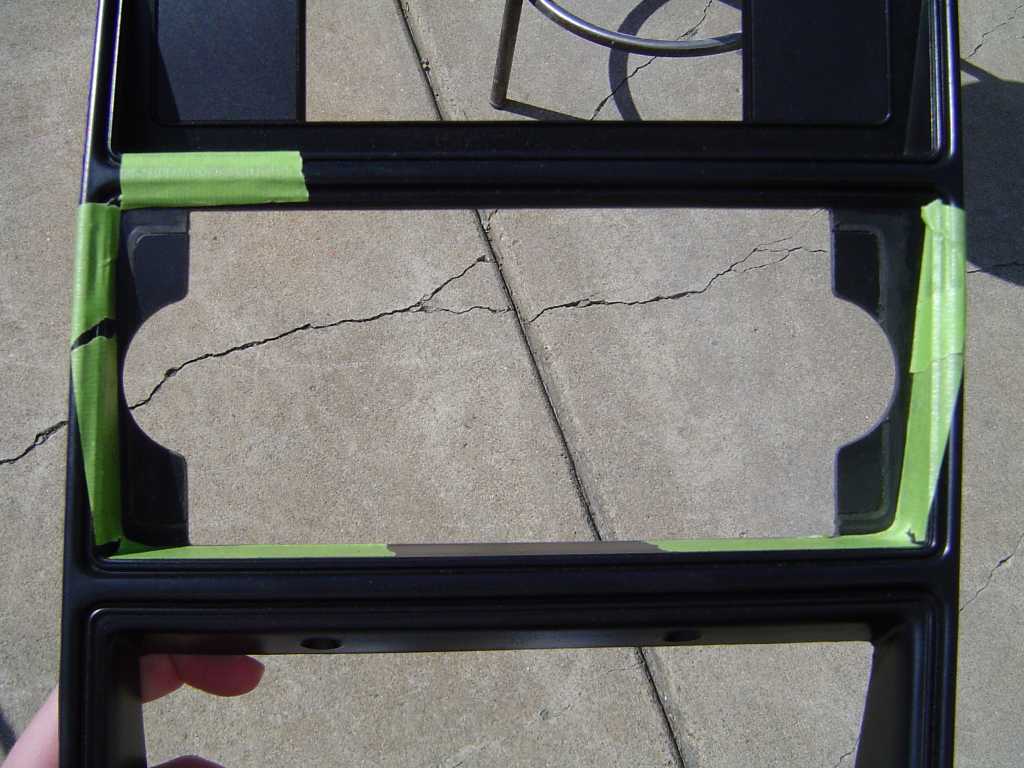
Trim Modification
Now you must modify the trim panel to allow the new radio to fit. Start by making the circular cutouts for the knobs, and then fill in the remaining gaps with pieces of ABS plastic. Use Plastic Welder Adhesive to bond the new pieces, then fill in any gaps with body filler and sand it smooth. Finally, paint the piece with black interior trim paint. I used SEM trim paint. The following pictures describe the process.
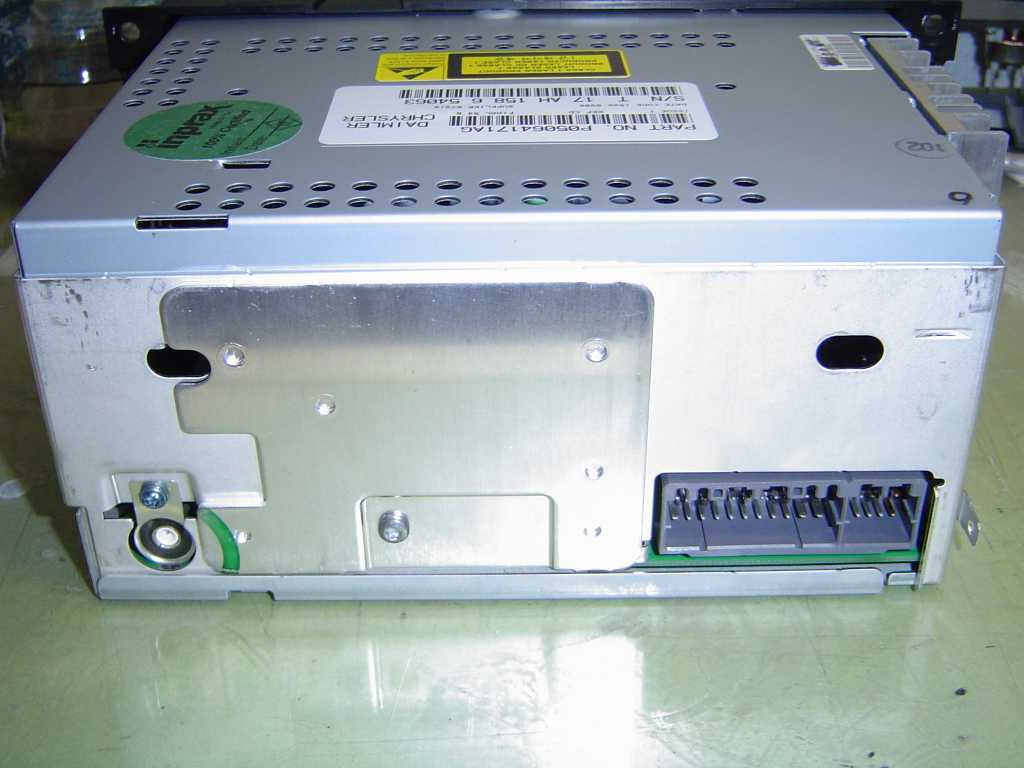
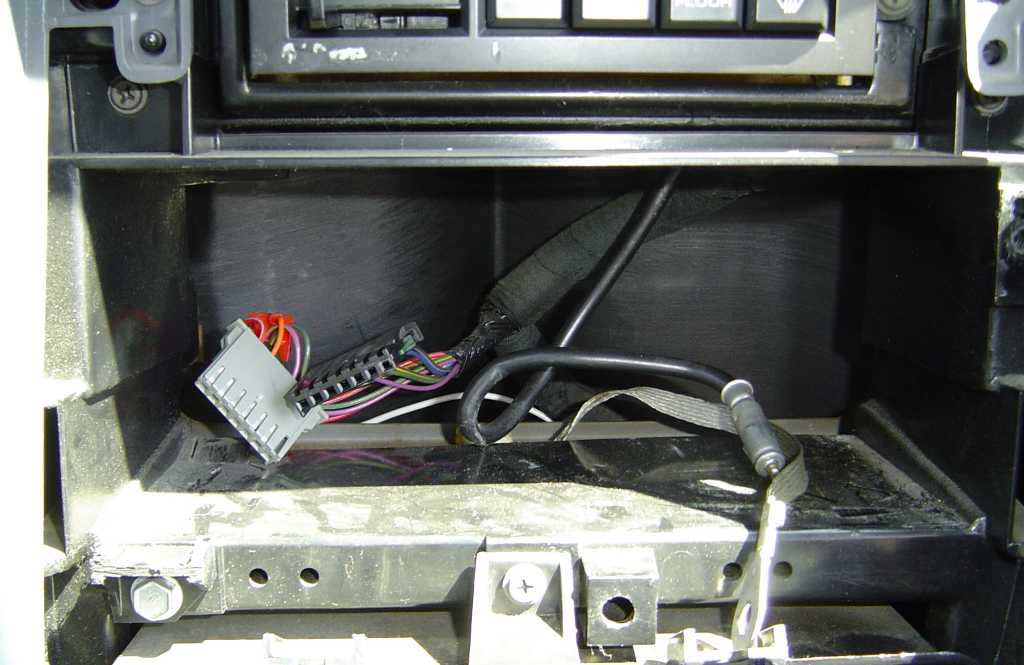
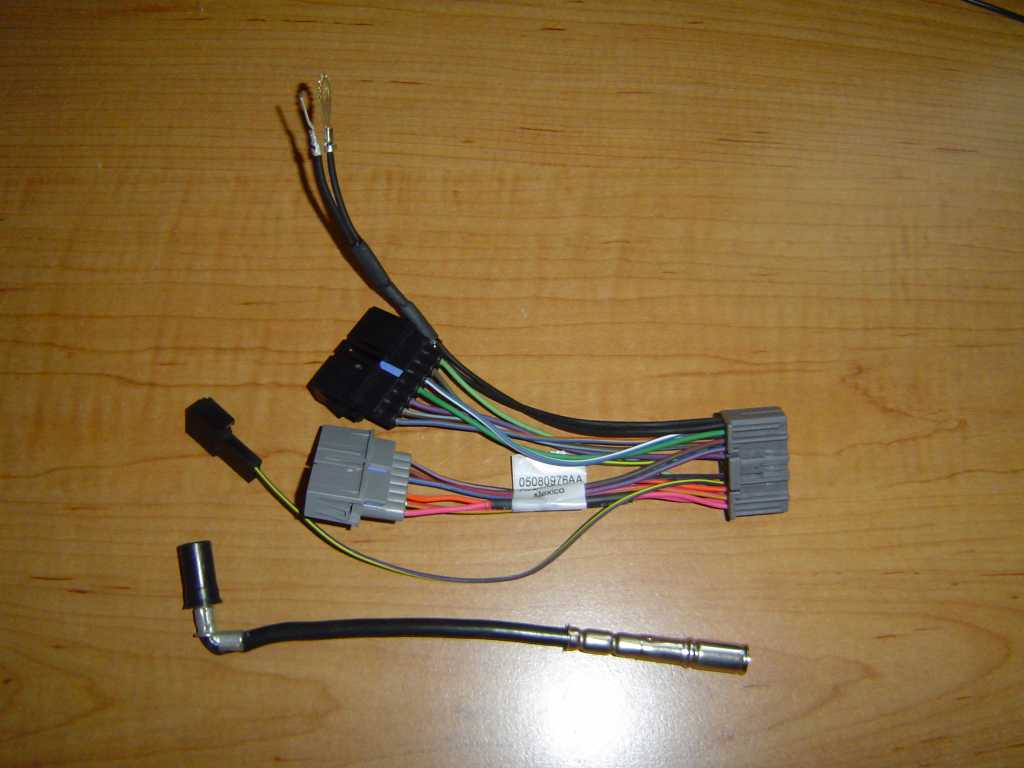
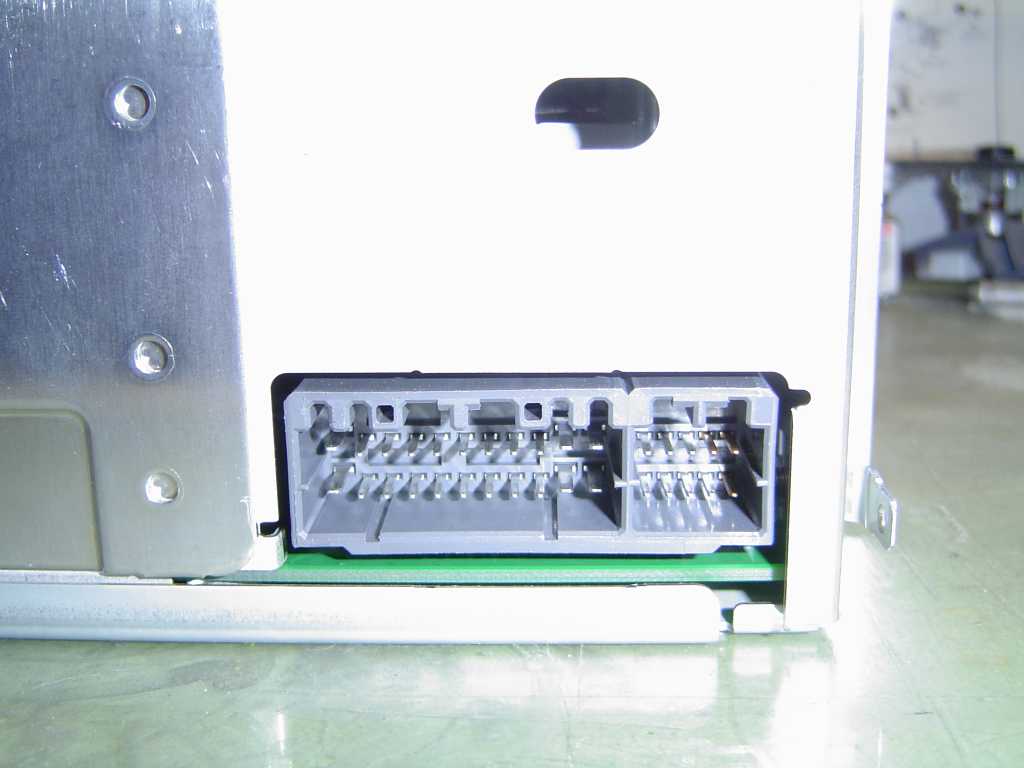
Configure Electrical System
The new radio that you are installing has a single 22 pin connector, whereas the car has the older dual 7 pin connectors. The antenna wire is also different, the old radio has a standard Motorola connection, and the new radio has a new locking connection. One way to get around this is to buy two aftermarket head unit wiring adapters and splice them together per the wiring diagrams below, and finding an antenna adapter. The other way, and the way that I chose, is to buy part number 82207541 from your local Mopar dealer. This is an adapter kit that was originally designed to allow the use of Mopar RB4/RB1 oval face navigation radios in cars that have the two plug setup, but it also works great for our situation. Make sure that you are careful when working with the antenna wire, if you separate the two halves of the connector, push it back very gently and try out the radio. If you now have poor reception, you may have to take it apart and resolder it. Whichever method you choose, install it into the car, and you are now ready to start reassembly.
Install and Reassemble
Reinstall the Center Stack and Console by reversing the instructions in 2a. Take care to route the wires correctly, and make sure they do not interfere with anything (i.e. Shifter, etc.). Install the radio and trim panel, and do a test listen!